Lab 1.2: Data in
Objective:
In this lab, you will first index a document using the Elasticsearch API. Next, you will index the blogs published by Elastic on our website at www.elastic.co/blog. You will index blogs on cluster2 using Kibana's file upload mechanism. Finally, you will index blogs on cluster1 using the Bulk API.
-
From Kibana's main menu, select Dev Tools to open Console if it is not already open.
-
Using the Elasticsearch API, index a document that meets these requirements:
- is indexed into an index called
my_index - has an ID of 1
- contains one field called
my_field - has one value for the
my_fieldfield:Hello world!
Solution
Note that you do not need to create the index first. Elasticsearch will create the index for you if it does not already exist.PUT my_index/_doc/1 { "my_field": "Hello world!" } - is indexed into an index called
-
Use the Elasticsearch Get by ID API to retrieve the document you have just indexed.
Solution
GET my_index/_doc/1 -
Next you will see how you can use Kibana to upload data as files. Start by downloading this
newblogs.jsonfile to your local computer. It is a small text file that contains 7 recent blogs from Elastic. -
First, you will upload
newblog.jsonintocluster2. Within the Strigo lab environment, click the Kibana2 button and log in. The username istrainingand the password isnonprodpwd. -
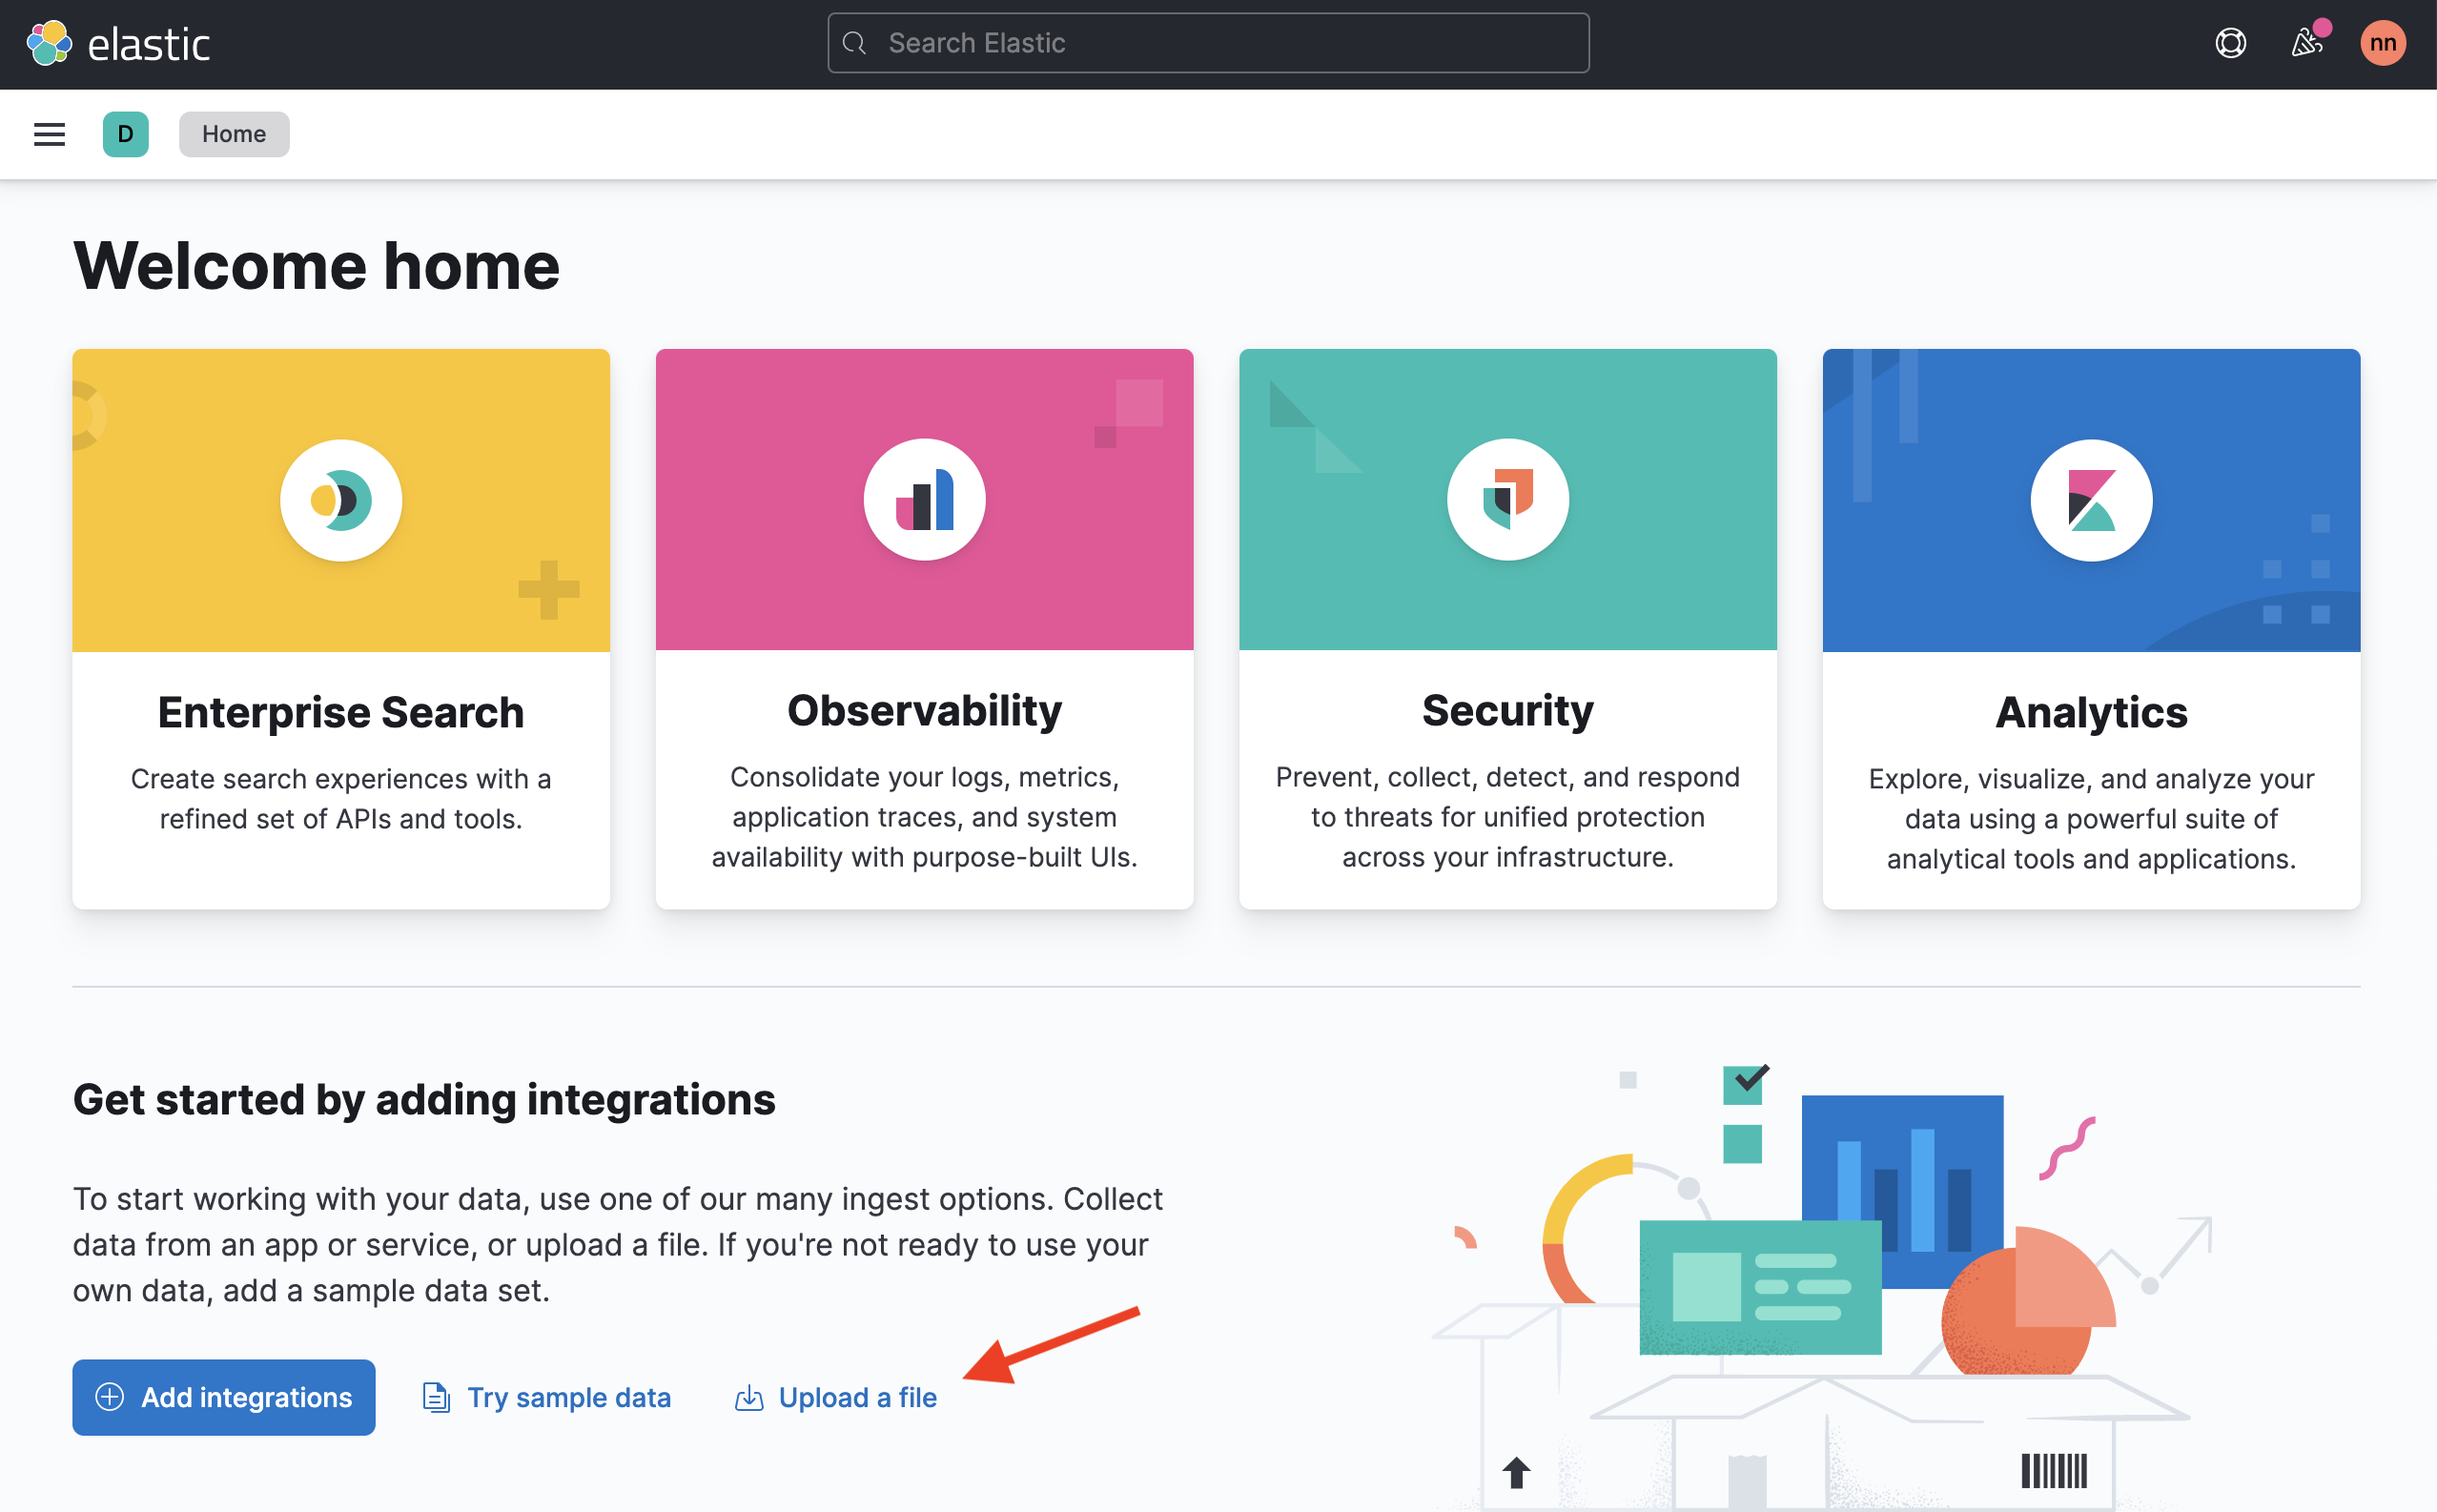
From Kibana's Home, click Upload a file.
-
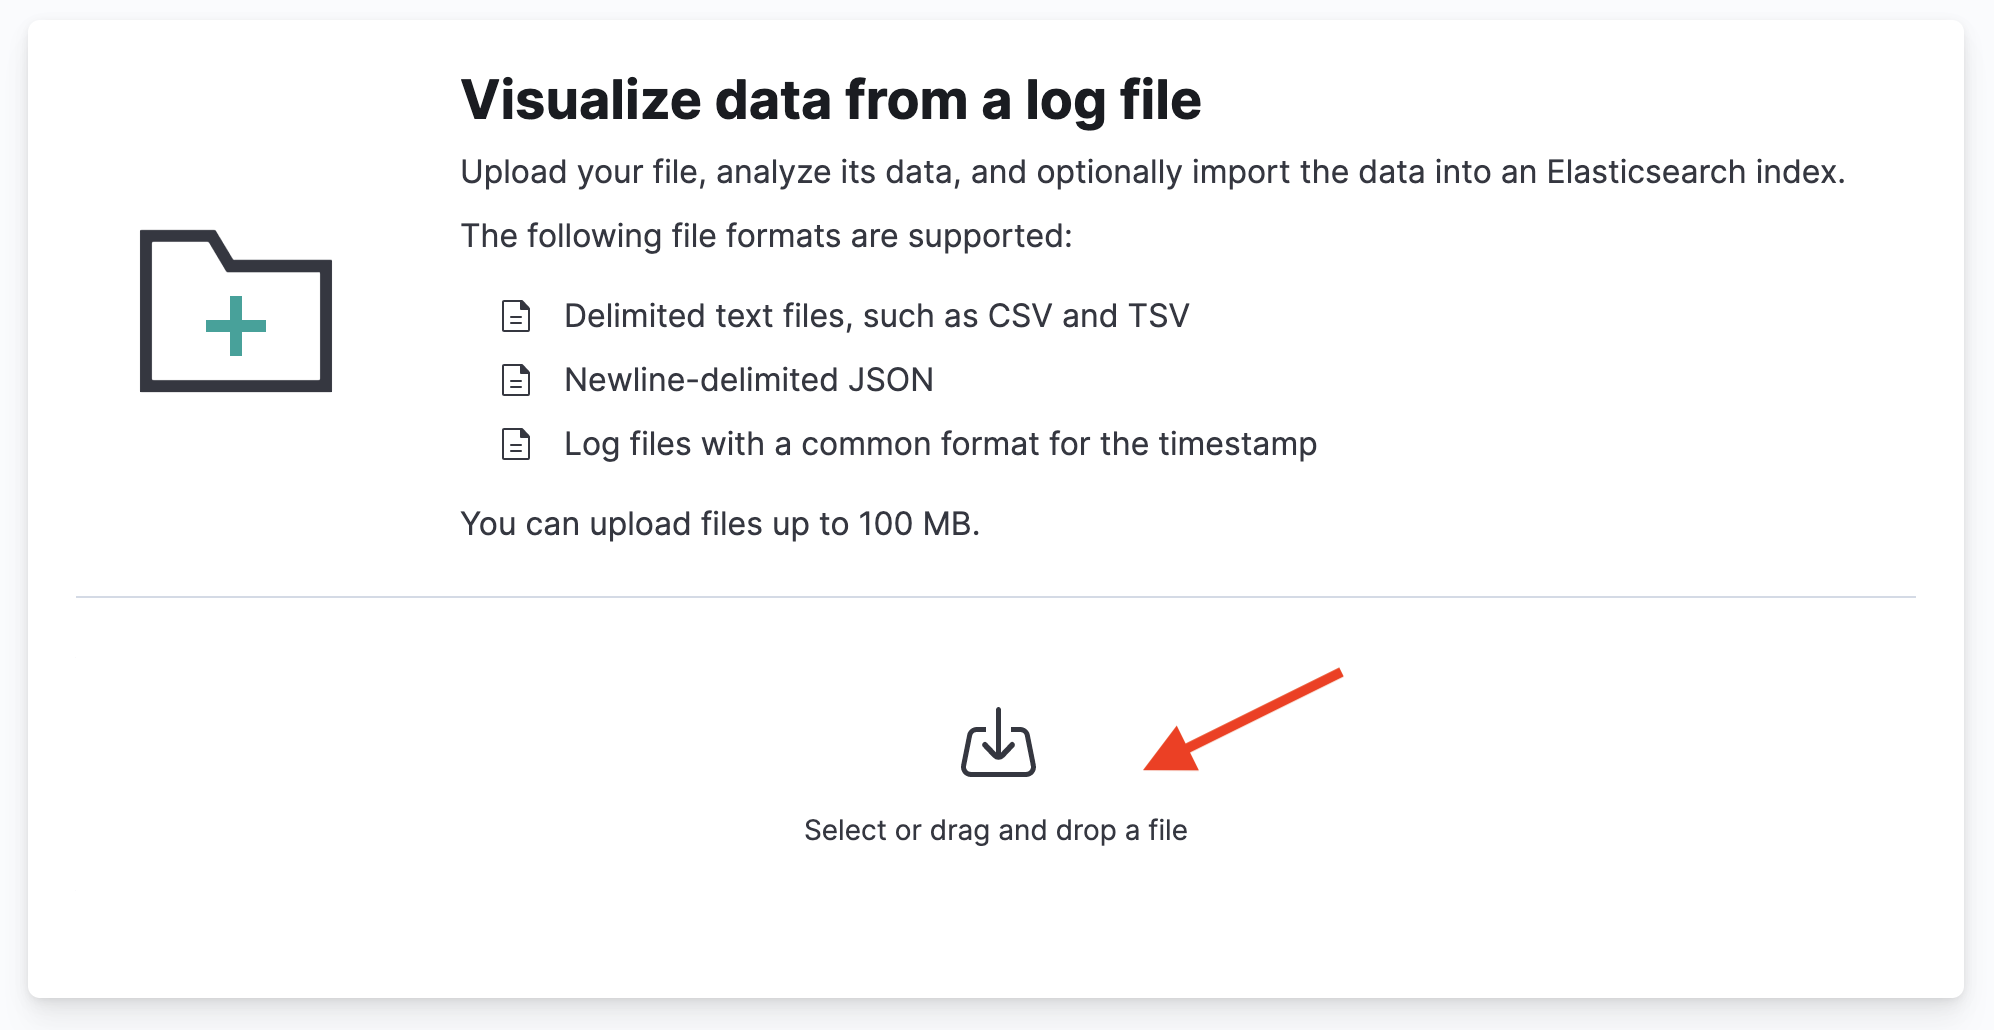
Click Select or drag and drop a file:
-
Select
newblogs.jsonfrom your local computer. The file will be uploaded and analyzed by Kibana. -
Click Import.
-
Enter
blogsfor the Index name and make sure the box is checked for Create data view. -
Click Import and the blogs should be indexed fairly quickly. Scroll down to the bottom of the page and click View index in Discover.
-
Discover shows a date histogram of the blogs by automatically determining the first and last document. You should see 7 hits, from April 26-29, 2021:
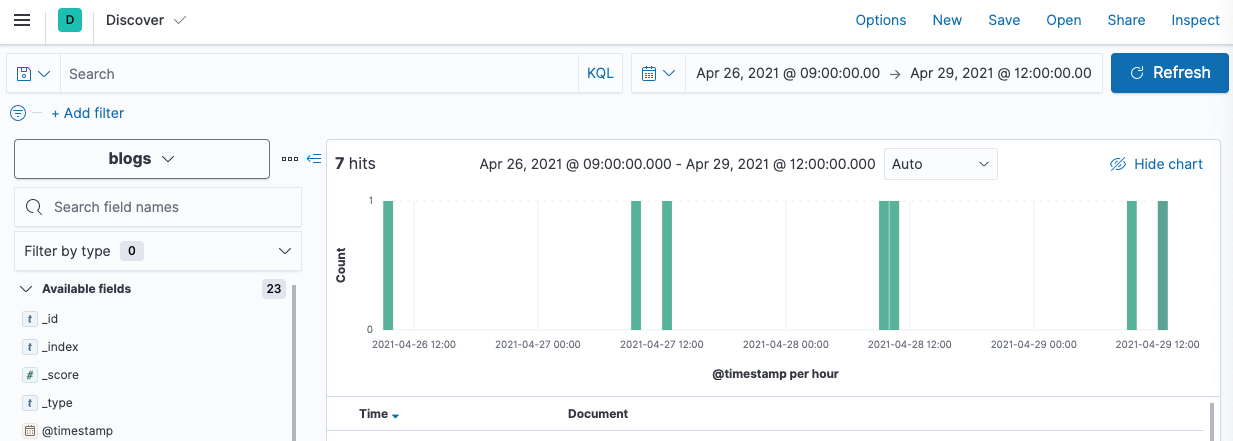 You have successfully uploaded 7 documents into a new index named
 blogsintocluster2. Elastic has written a lot more than 7 blogs! Next, you will index the other blogs intocluster1using a script that performs_bulkinserts. -
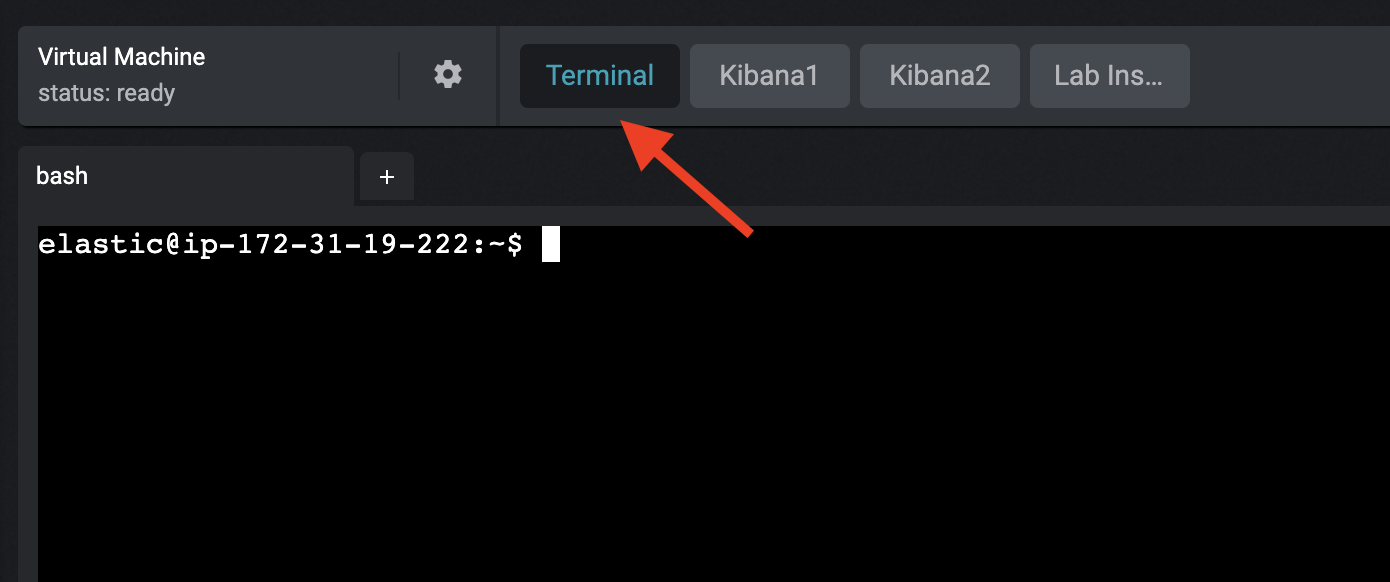
Click the Terminal button in the Strigo lab environment.
-
Change directories to the
~/datasetsfolder and view its contents:cd datasets ls -la -
Notice there is a JSON file named
blogs.jsonwhich contains thousands of blogs published at www.elastic.co/blog. Each row in the text file is a single JSON document representing a single blog. Run theload_blogs.shscript to index the JSON file intocluster1:./load_blogs.sh -
Earlier, when you uploaded a file in Kibana, it automatically created a
blogsdata view oncluster2. Now, because you're using the Elasticsearch API, you will need to define a data view yourself. In the Strigo lab environment, click Kibana1. From the main menu, select Stack Management (under Management). Next, select Data Views under Kibana. -
Click Create data view.
-
Enter
blogsfor the Name (remove the asterisk) and selectpublish_dateas the Timestamp field.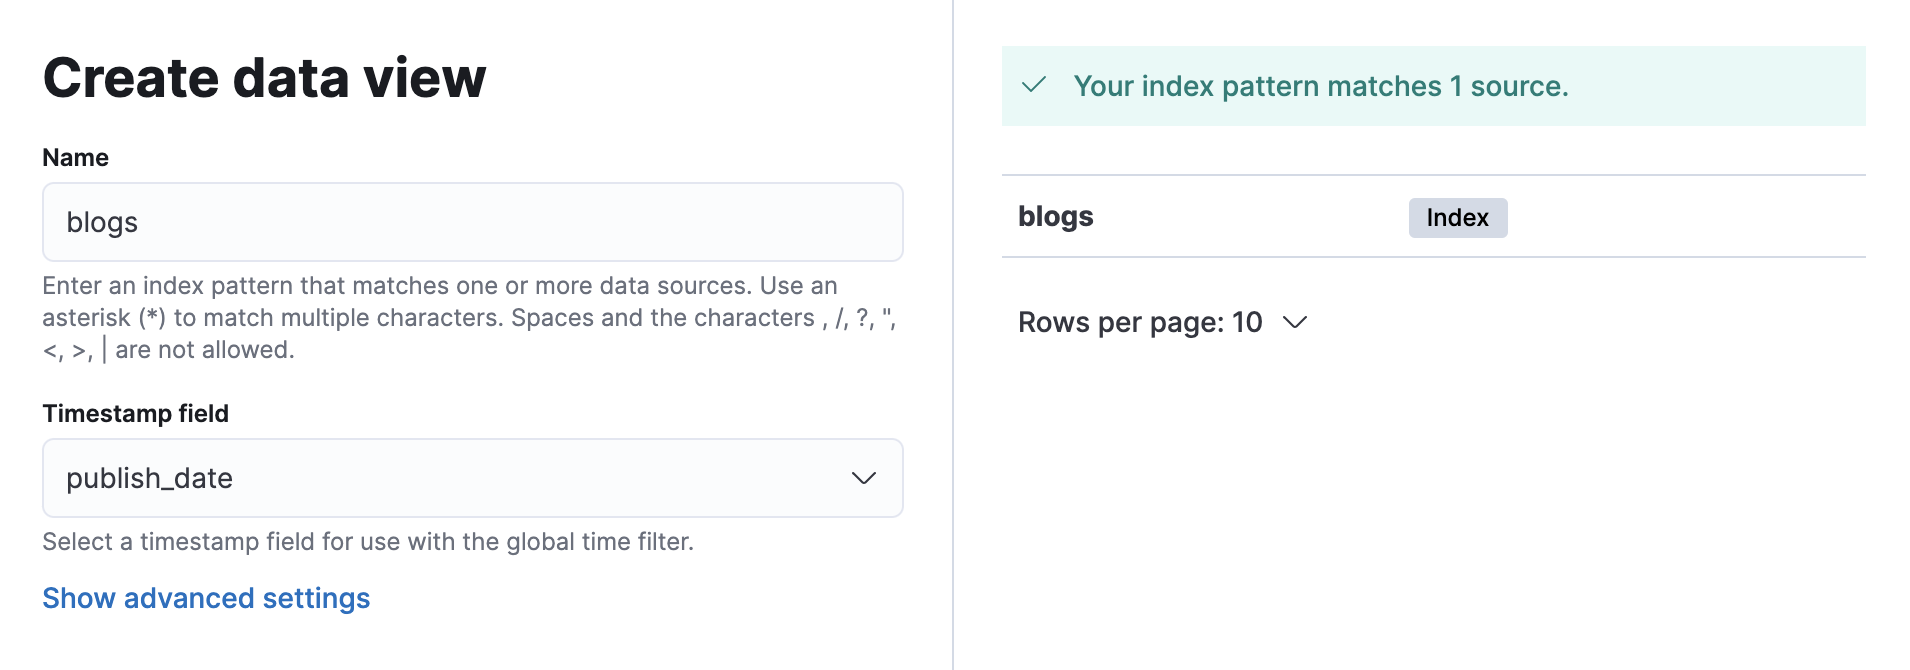
-
Click Create data view.
-
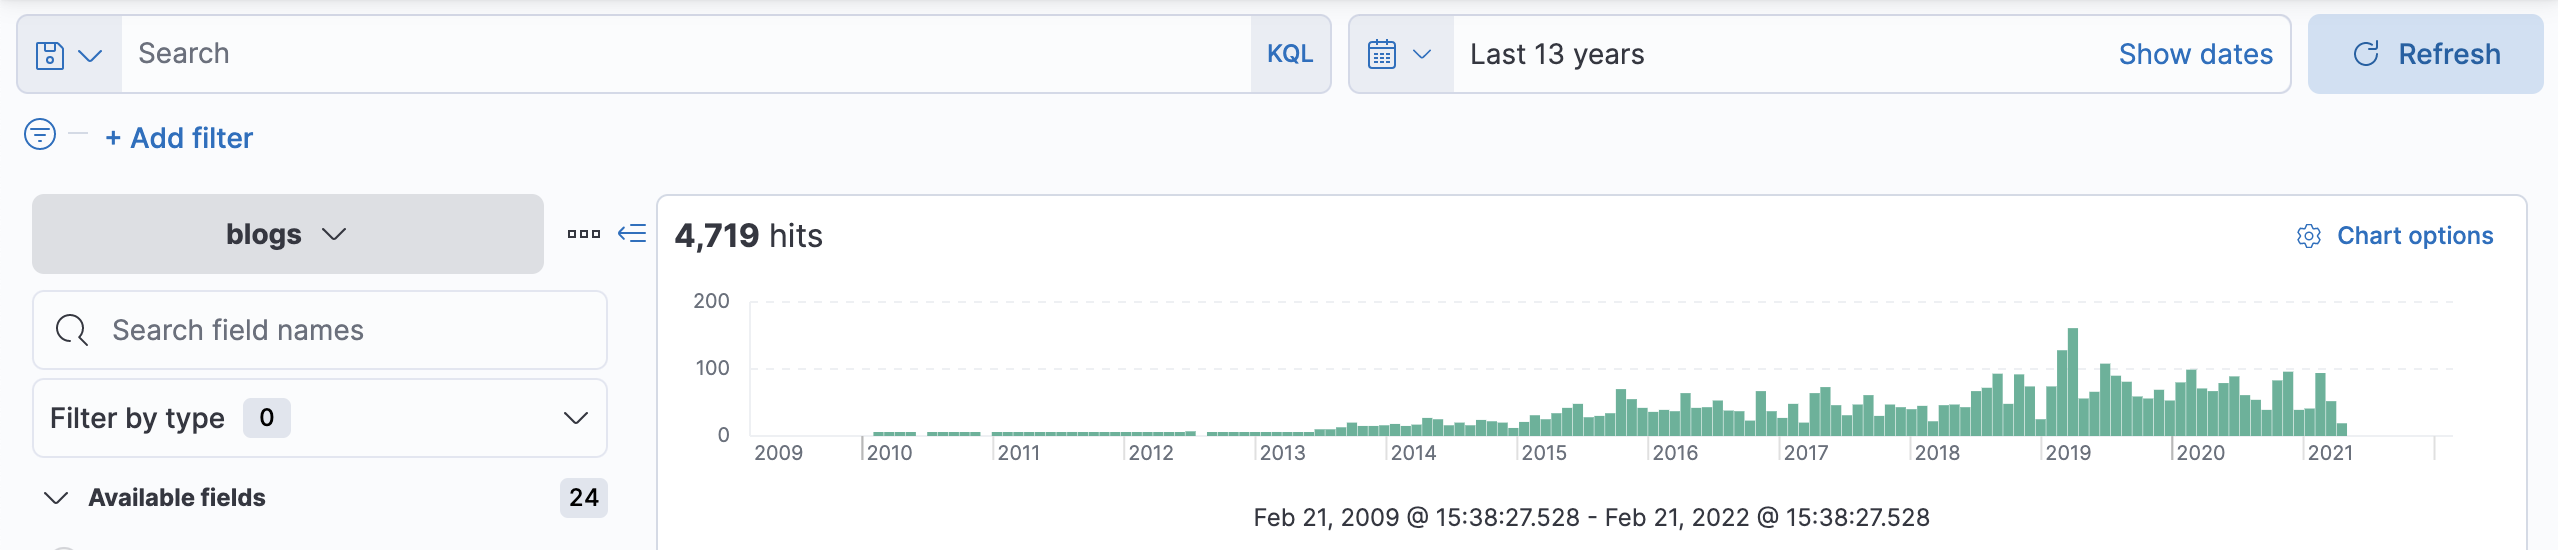
Go to Discover and change the selected data view to
blogs. You will not see any hits because you are only viewing the last 15 minutes of data, and the blogs are older than that. -
Change the time filter to view the last 13 years of blogs, and you should see 4,719 hits.
-
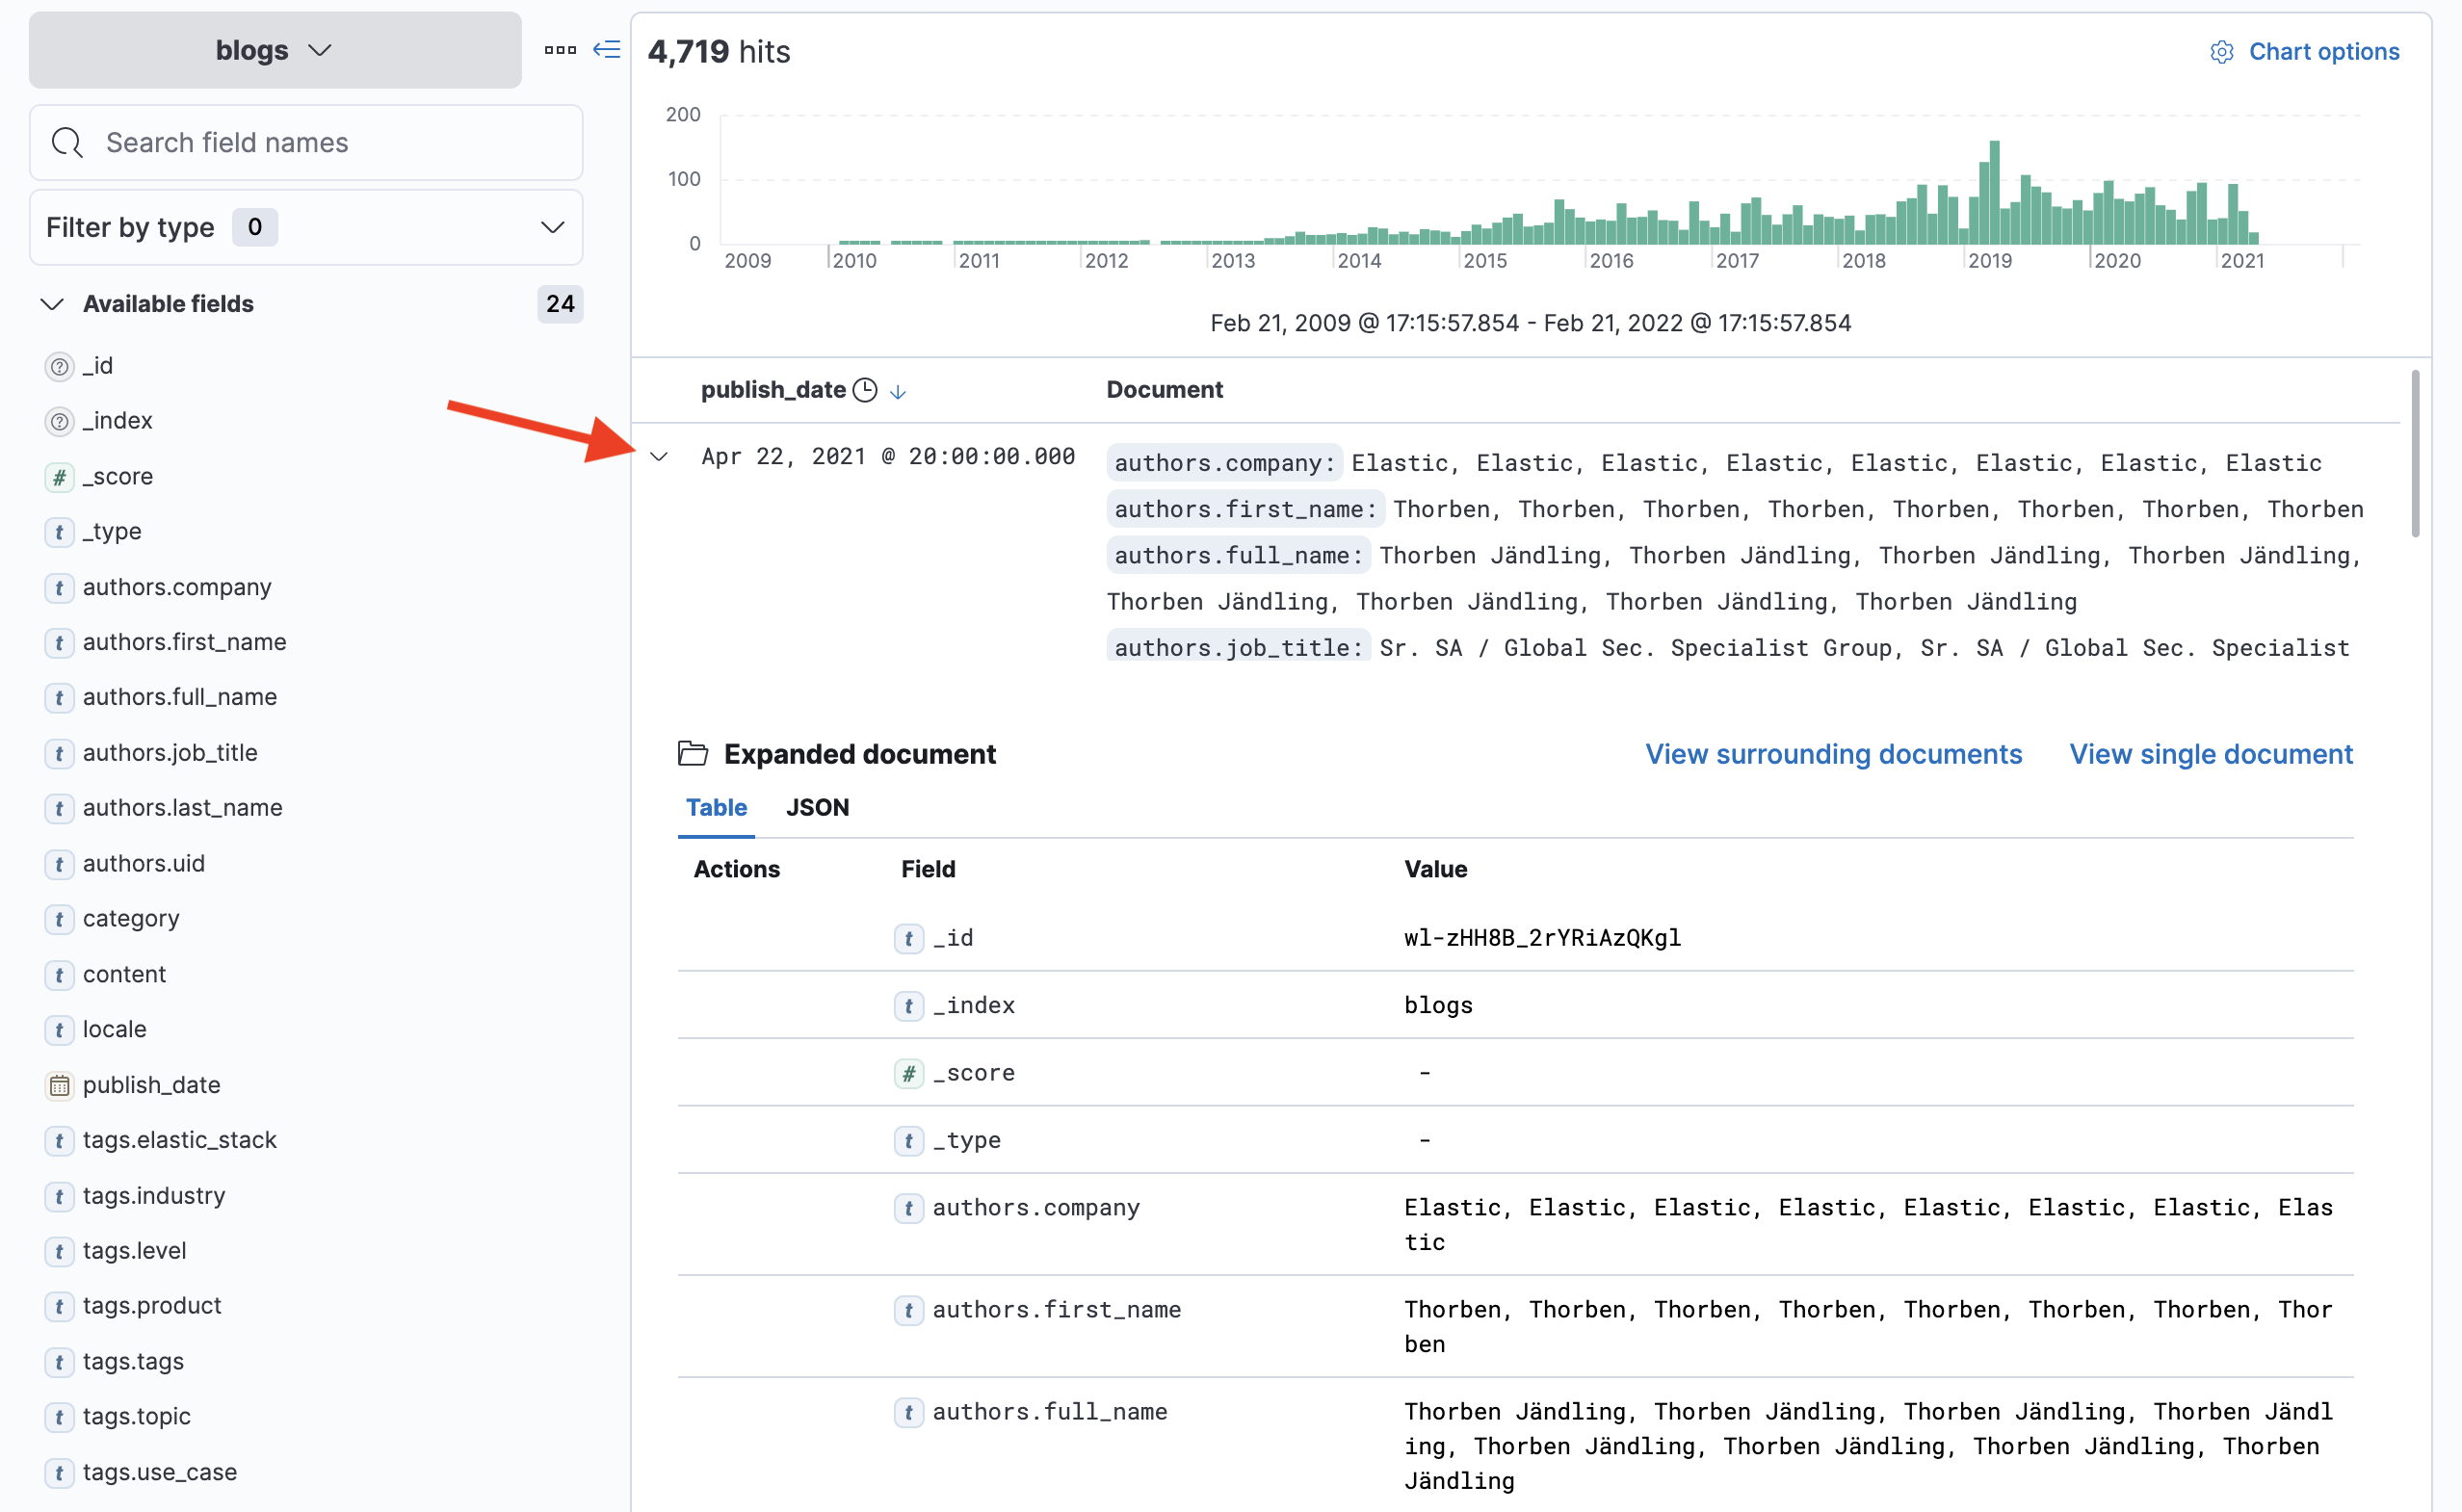
Click the little arrow to the left of the publish_date column of the first document and it will expand to display details about that document:
-
The table view of the expanded document is a great way to view the fields and values of the document. Notice you can also view the raw JSON of the document by selecting the JSON tab.
Summary:
In this lab, you used Kibana to upload a small sample of the blogs from the www.elastic.co/blog website. Next you used a script that used _bulk inserts to index the full dataset. Most of the blogs are on cluster1, but 7 of them are on cluster2. (Later in the course you will learn how to search both indices across the two clusters.) You also created a data view, which enables you to work with the documents in Kibana.